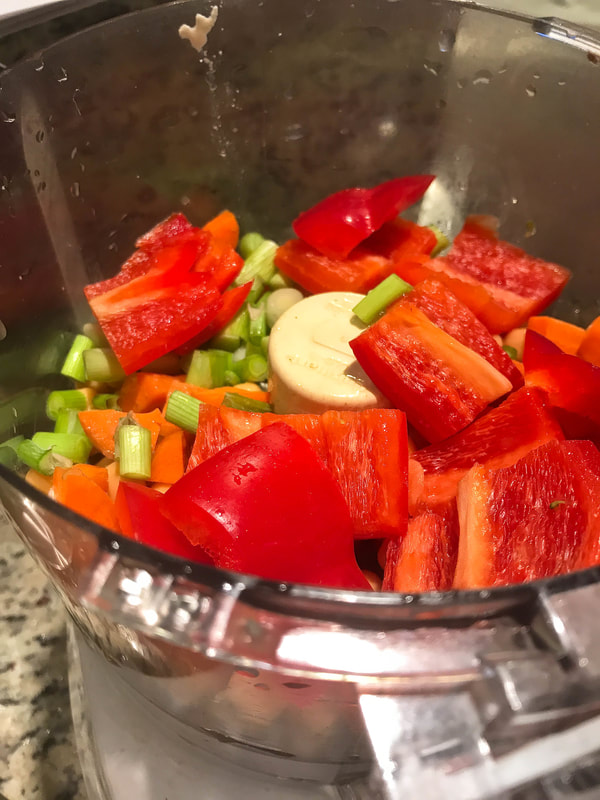
Hope everyone had a great Labor Day weekend. We went on a picnic to the beach and I packed these great sandwiches. They are super easy to make and you can customize them to your preference. Most people like to use celery in these salads, but I'm not a huge fan of celery so I used green onions instead. I had carrots and red pepper on hand so I through them in. You can add whatever crunchy vegetables you like.
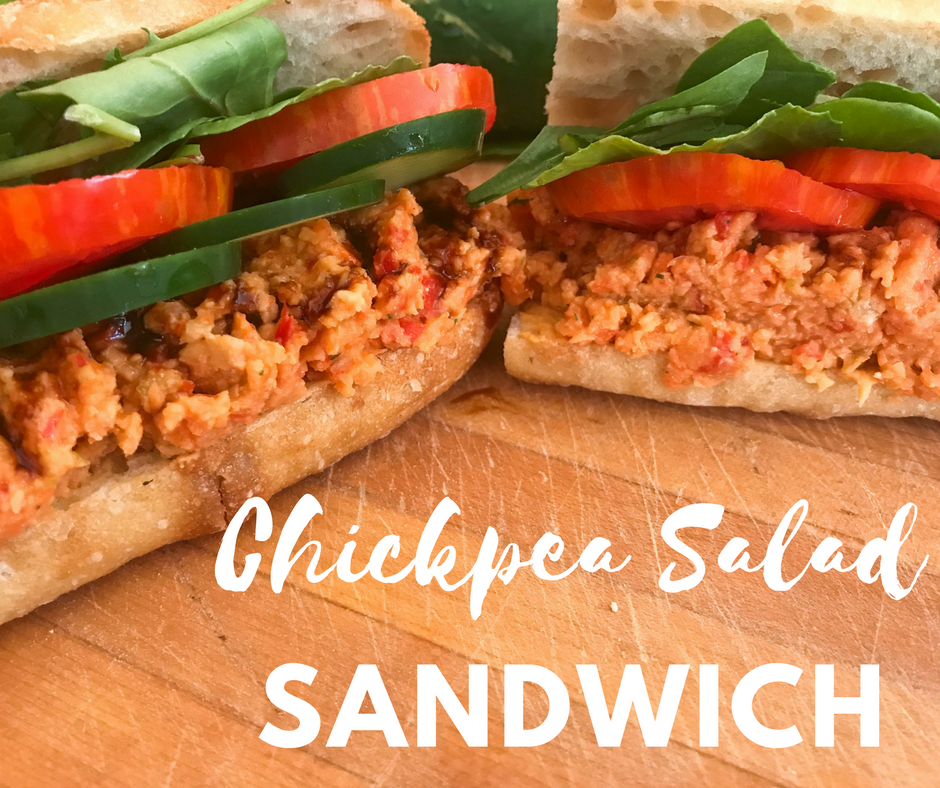
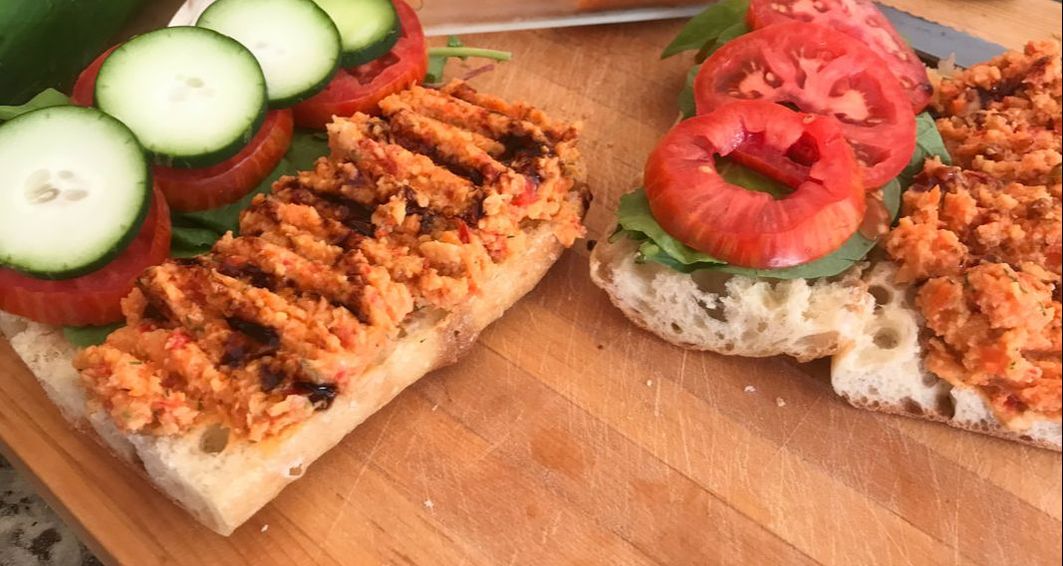
In addition to making great picnics, this sandwich is also great to pack for lunches as school or work. Make sure that you put a layer of greens between the tomatoes and the bread so that your bread doesn't get soggy during the day.
Let me know how you like it and what your favorite sandwich toppings are!
 |  |
| Ingredients: 1 Can of chickpeas 1 Red pepper 1 Bunch of green onions 1 Carrot 1/2 Cup Tofu Sour Cream 1 Tablespoon Fresh Dill 1 Half of a baguette (or other sandwich bread) 1 Small-medium sized tomato Half of a medium cucumber 1 Cup of lettuce/greens 1 Avocado 2 Tablespoons hummus Balsamic glaze for garnish (optional) | Servings: 2 sandwiches with some leftover chickpea salad Prep Time: 15 minutes Cook Time: 0 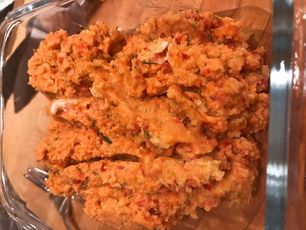 |
Instructions:
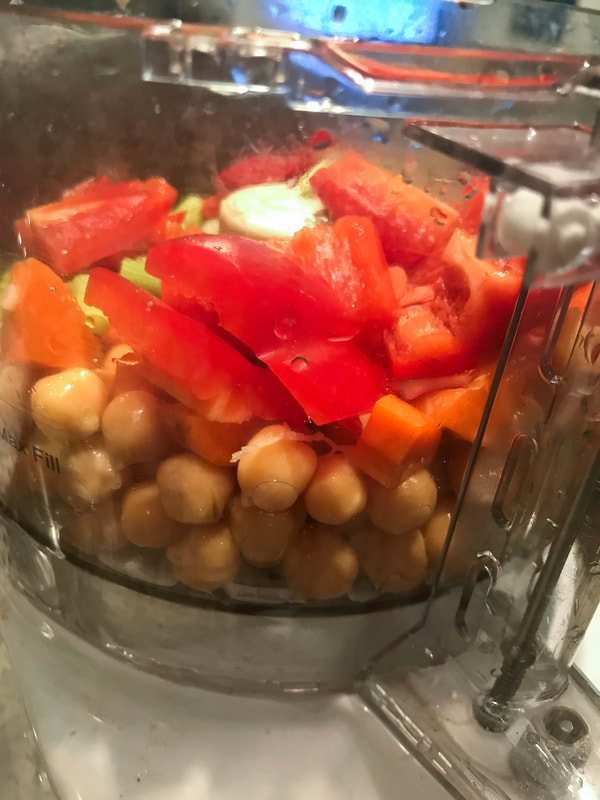
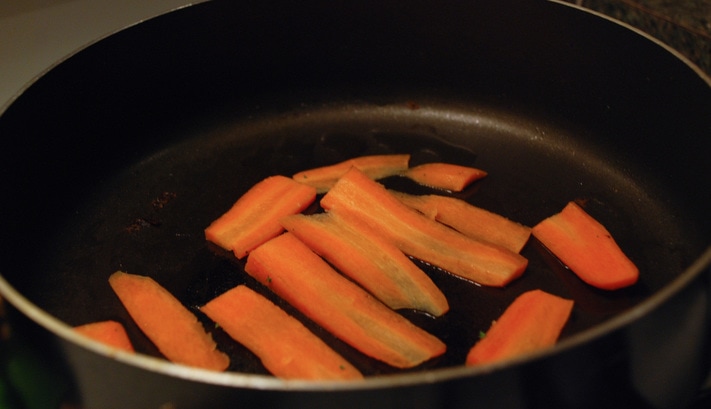
Drain and Rinse chickpeas. Slice green onions up until they start turning dark green. Chop carrots and red peppers to be roughly the same size of the chickpeas and green onions so that they'll all process the same way in the food processor. Add chickpeas, red pepper, green onions, carrot, dill, and sour cream to a food processor and process until it is the consistency of chicken or tuna salad (or the consistency you prefer).
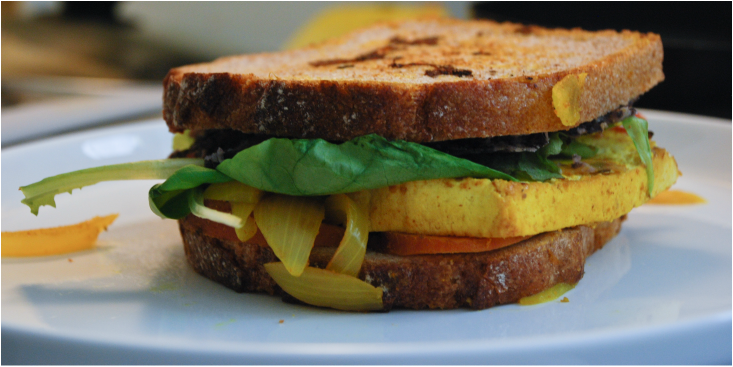
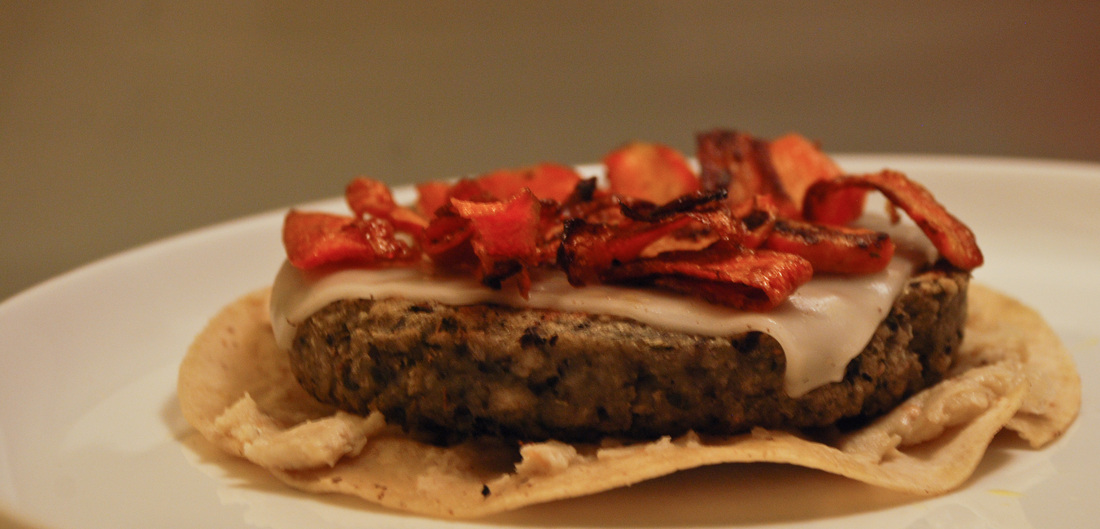
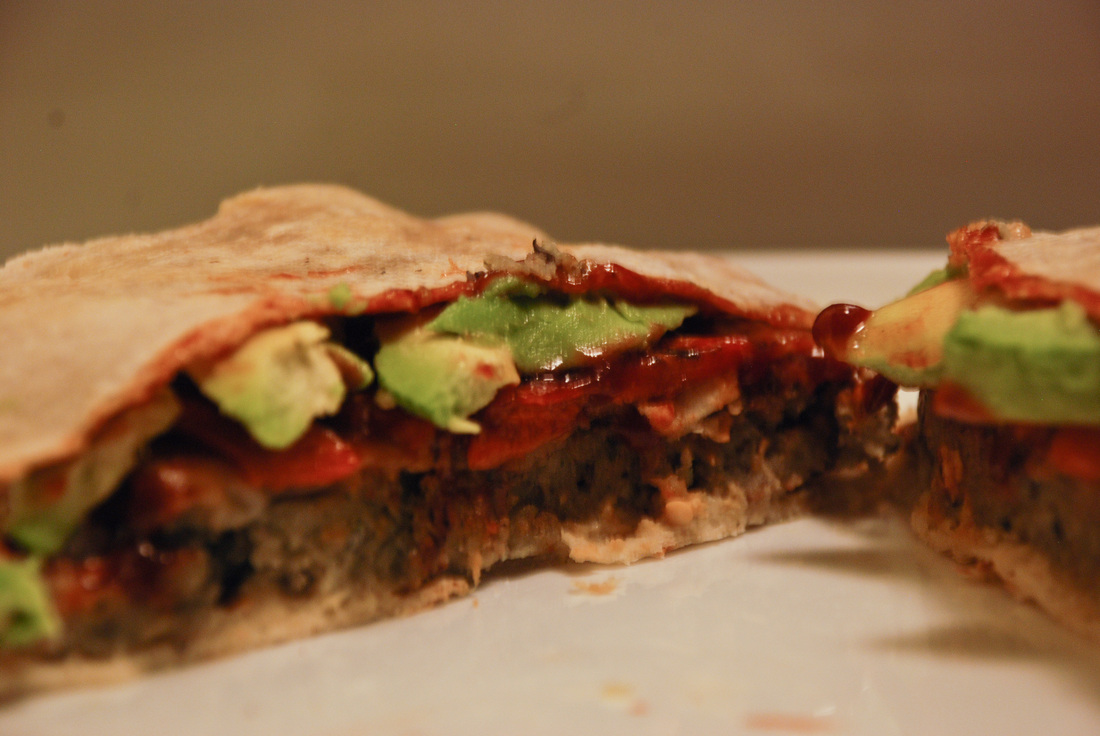
Cut the baguette in half and then slice open in the middle. Layer the hummus, greens and slices of tomato, cucumber, and avocado on one side of the sandwich. Add the chickpea salad to the other side and fold in half.
Serve and enjoy!
Drain and Rinse chickpeas. Slice green onions up until they start turning dark green. Chop carrots and red peppers to be roughly the same size of the chickpeas and green onions so that they'll all process the same way in the food processor. Add chickpeas, red pepper, green onions, carrot, dill, and sour cream to a food processor and process until it is the consistency of chicken or tuna salad (or the consistency you prefer).
Cut the baguette in half and then slice open in the middle. Layer the hummus, greens and slices of tomato, cucumber, and avocado on one side of the sandwich. Add the chickpea salad to the other side and fold in half.
Serve and enjoy!


 RSS Feed
